In the electronics and automotive industries as well as in the medical device sector (Unique Device Identification – UDI), parts are increasingly being marked directly with laser, inkjet or dot peen processes.
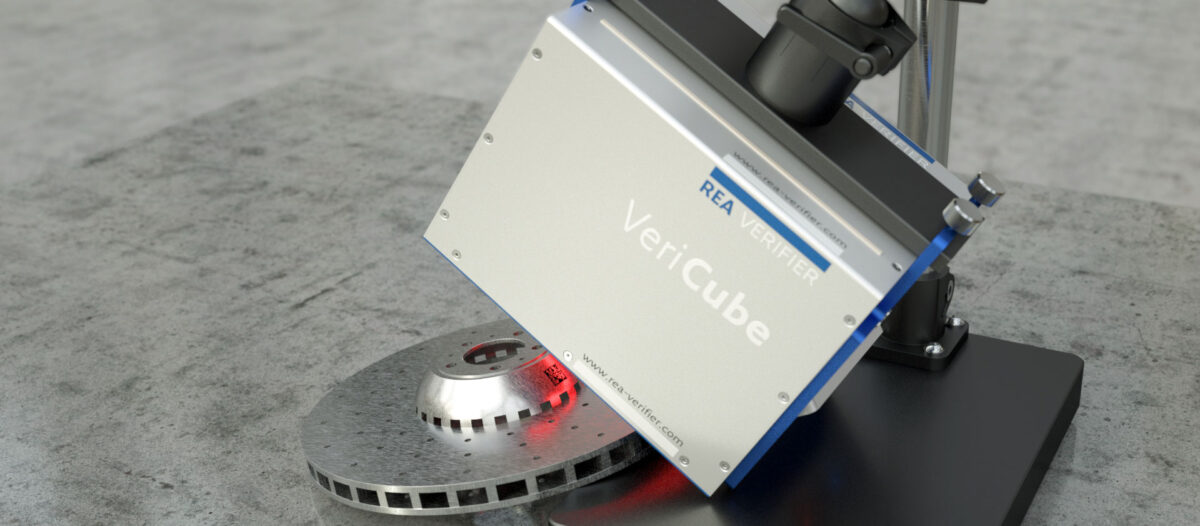
Due to the often complex 3D geometry of the products, it can happen that the applied code lies in an indentation. Other areas of the component can also be higher than the code level and create shadows. Such a position of the code makes it difficult and sometimes impossible to reach the correct and accurate position for a qualitative measurement and evaluation of the code quality.
The challenge is that the code level must be aligned at an angle of 90° to the camera of the code verification system and the distance must always be the same. In the best case, the code symbol is located in the center of the camera’s field of view.
The solution for such measuring tasks consists partly of the REA VeriCube with a diffuser and a camera module that focuses a measuring distance of 15 mm above the standard measuring surface of the REA VeriCube.
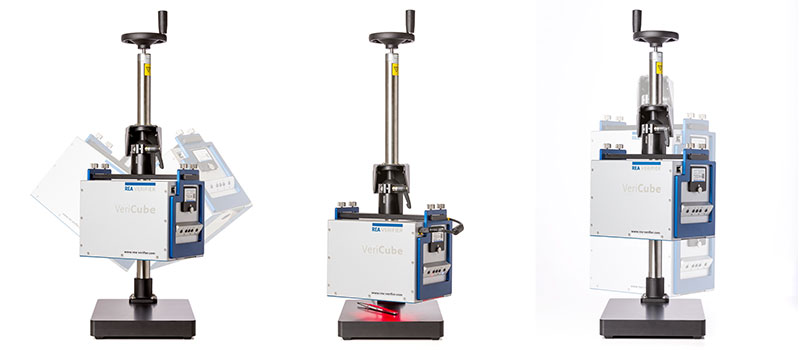
The second part to solve the problem is the new height-adjustable stand, into which the VeriCube can be installed quickly and comfortably. The code verification device can thus be aligned with the component with high precision. The focal distance of +15 mm to the device allows a correct measuring position to be achieved, even for components with difficult geometry. The REA VeriCube can be flexibly adjusted and swivelled to achieve the most accurate measurement results.
The REA VeriCube is easily and accurately height-adjusted in the stand via the threaded spindle with handwheel when the verification device is mounted in the bracket. The fixed adjustment prevents from unwanted distortion and simplifies quality evaluation of codes to be measured.
In case of regular label or folding box measurements have to be carried out, the REA VeriCube can be removed from the stand in a few simple steps. The device is now ready for regular measuring procedures.

REA VeriCube Stand for 3D objects

